Falatacot Temple: Difference between revisions
Jump to navigation
Jump to search
imported>Sanddh mNo edit summary |
imported>Sanddh m →Images |
||
| Line 64: | Line 64: | ||
<gallery heights=200px widths=200px perrow=3> | <gallery heights=200px widths=200px perrow=3> | ||
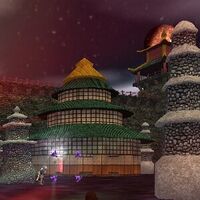
File:Falatacot Temple Live.jpg|Building with the portal to the Falatacot Temple | File:Falatacot Temple Live.jpg|Building with the portal to the Falatacot Temple | ||
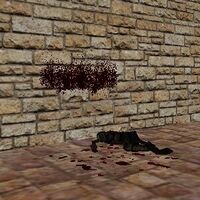
File:Falatacot Temple 2 Live.jpg|inside the Temple | |||
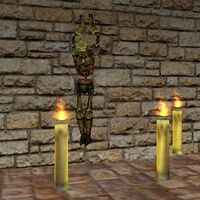
File:Falatacot Temple 3 Live.jpg|inside the Temple | |||
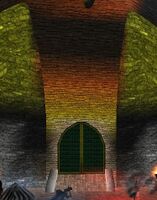
File:Falatacot Temple 4 Live.jpg|Lever-opened Door to next section | |||
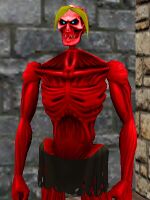
File:Freed Temple Exarch Live.jpg|Freed Temple Exarch | File:Freed Temple Exarch Live.jpg|Freed Temple Exarch | ||
</gallery> | </gallery> | ||
== Notes == | == Notes == | ||
Revision as of 06:43, 15 September 2012
| Maps NPCs Creatures Items and Objects Portals Images Update History |
|
|||||||||||||||||||||||||||||||||||
General
Maps
- [[Media:####.gif|Map available at ACMaps.com]]
- Wiki Map:
NPCs
Creatures
Items and Objects
 Broken Lever (Lower) - Random drop on creatures inside
 Broken Lever (Middle) - Random drop on creatures inside
 Broken Lever (Upper) - Random drop on creatures inside
 Lever Box
Portals
- Surface - at the end - HOT drop back into the courtyard
Images
Click image for full size version.
-
Building with the portal to the Falatacot Temple
-
inside the Temple
-
inside the Temple
-
Lever-opened Door to next section
-
Freed Temple Exarch


