Empyrean Rescue Dungeon: Difference between revisions
Jump to navigation
Jump to search
imported>Tlosk Created page with "{{Dungeon Summary | Patch Introduced = Hopes and Fears | Related Quests = Empyrean Rescue Quest | Updated = | | Live Image = Live.jpg | L..." |
imported>Tlosk Created page with "{{Dungeon Summary | Patch Introduced = Hopes and Fears | Related Quests = Empyrean Rescue Quest | Updated = | | Live Image = Live.jpg | L..." |
(No difference)
| |
Revision as of 19:22, 16 October 2010
| Maps NPCs Creatures Items and Objects Portals Images Update History |
|
| ||||||||||||||||||||||||||||||||||


General
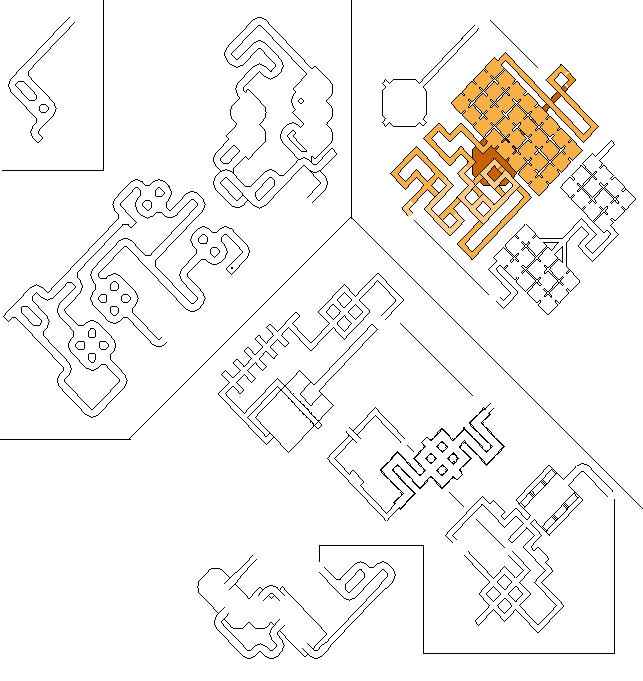
Maps
- Wiki Map:

NPCs
- None
Creatures
Items and Objects
 Dark Apostate Shard - Dropped by Apostate Nexus Master in Part 2.
Portals
- Mysterious Portal - Connects Part 1 and 2.
- Sparkling Portal - Connects Part 2 to Part 3. Only active when red (cycles on every 10 minutes or so), you must have the Glowing Apostate Shard in your inventory to enter.
- Gateway - Connects Part 3 and 4.
- Surface Portals - There are various surface portals through the parts, usually by the drop but other places also. All are unrecallable/untiable and drop at various locations, including 54.0S 97.6E
.
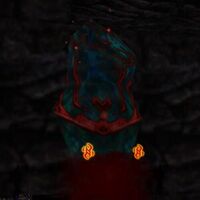
Images
Click image for full size version.
-
-
 Caption

