Empyrean Rescue Dungeon: Difference between revisions
Jump to navigation
Jump to search
imported>Arkalor |
imported>Sanddh m →Images |
||
| Line 89: | Line 89: | ||
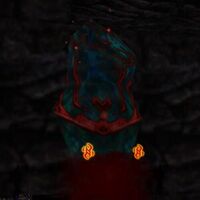
File:Engorged Bloodstone Vulned Live.jpg|[[Engorged Bloodstone]] | File:Engorged Bloodstone Vulned Live.jpg|[[Engorged Bloodstone]] | ||
File:Empyrean Rescue Dungeon Live.jpg|Entrance to the Empyrean Rescue Dungeon | File:Empyrean Rescue Dungeon Live.jpg|Entrance to the Empyrean Rescue Dungeon | ||
File:Weakened Empyrean Live.jpg|One of the returning weakened Empyreans | |||
</gallery> | </gallery> | ||
Revision as of 05:11, 31 October 2010
| Maps NPCs Creatures Items and Objects Portals Images Update History |
|
| ||||||||||||||||||||||||||||||||||


General
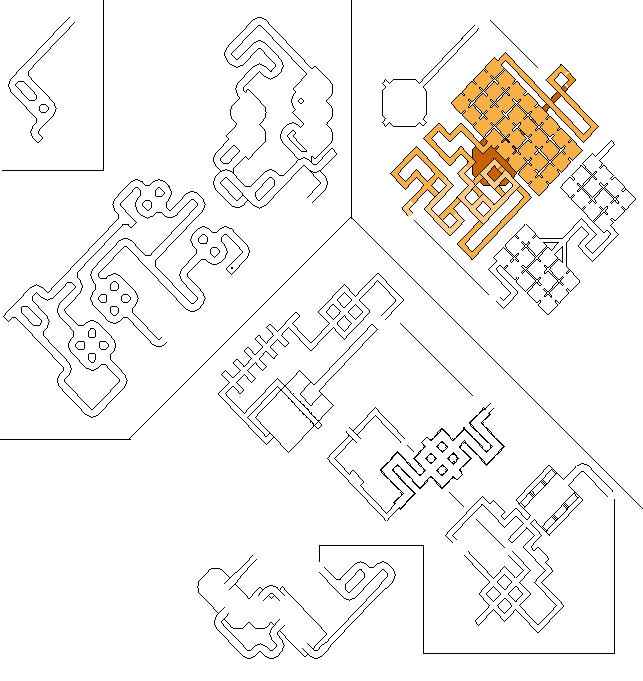
Maps
- Wiki Map (rough draft):

NPCs
- None
Creatures
Items and Objects
 Dark Apostate Shard - Dropped by Apostate Nexus Master in Part 2.
Portals
- Mysterious Portal - Connects Part 1 and 2.
- Sparkling Portal - Connects Part 2 to Part 3. Only active when red (cycles on every 10 minutes or so), you must have the Glowing Apostate Shard in your inventory to enter. The portal only remains active for 60 seconds, then goes inactive again (it only shows up on radar while active).
- Gateway - Connects Part 3 and 4.
- Surface Portals - There are various surface portals through the parts, usually by the drop but other places also. All are unrecallable/untiable and drop at various locations, including 54.0S 97.6E; 7.0S 74.9W.
Images
Click image for full size version.
-
-
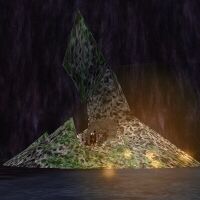 Entrance to the Empyrean Rescue Dungeon
 -
 One of the returning weakened Empyreans


